Description
Best Rated Underlayment For use under nail-down hardwood flooring.
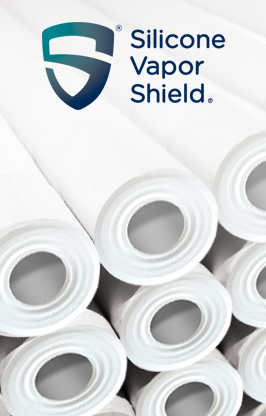
1)SVS® is an underlayment in a class by itself. It has been tested under various conditions for its permeability and effectiveness for protecting hardwood floors from subfloor moisture. It has been recognized and given accolades by various hardwood industry associations including the NWFA and the Radiant Heat Association.
2)SVS® is made of 6 mil. wet-strength paper and has a baked-on silicone coating. It won’t easily tear apart during installation like red rosin, craft paper or wax papers.
3)SVS® has two sides, one matte surface, the other a smooth surface which allows installers to slide wood planks easily. This also provides the perfect surface to have clear visible chalk lines so an installer’s work can remain accurate. It also won’t leave a black residue on hands or walls and keeps the surrounding work areas clean.
4)Radiant Panel Association lab tests have confirmed that SVS® is suitable for use on radiant heated floors. They found that there was “no measurable resistance to heat transfer with the product. No odors were released from Silicone Vapor Shield® when heated from 90F to 100F.”
5) 400 sq.ft/Roll
SVS® Installation Guidelines
For additional inquiries regarding installation please contact us below
The descriptions provided in this guide are brief and do not cover all circumstances that an installer may encounter during installation. It is the installer’s
responsibility to read and follow the hardwood floor manufacturer’s instructions for proper installation of their flooring product.
Job Site Conditions
In order to obtain the best possible installation the installer must ensure the environmental conditions on the premises are ideally suited for the installation of the hardwood flooring.
- The building must be completely enclosed.
- The interior environment conditions must be at occupied levels.
- Basements and crawl spaces must be dry.
- Drainage must direct any water away from the foundation.
- All other interior work should be completed.
- At the time of installation the subfloor humidity level must
not exceed 12%.
The boards must be stored on the premises for a minimum of 72 hours (or as required by the manufacturer) prior to installation in order to allow the wood to acclimatize to ambient conditions.
Preparation
- Remove any debris or protrusions (i.e. glue, staples, etc.)
from the sub-flooring. - Ensure the boards are solidly fastened to joists.
- Sweep and vacuum prior to filling or repairing any voids.
- Check for a repair any squeaks or voids.
- Even out the sub-flooring by sanding any uneven areas so
that the sub-floor shows no differences in level.
Subfloor Preparation
Once the old floor covering has been removed, the sub-floor must be carefully inspected in preparation for the flooring installation, as the hardwood floor will not correct major or apparent defects in a sub-floor, so it is vital that the sub-floor be inspected prior to installation.
Installation
- Roll and cut the SVS® to the length of the starting wall
and position the underlayment over the sub-floor as
needed to attain proper coverage. - Secure the entire length of the underlayment paper
edge with staples. - The starting row of paper should be stapled every two
feet in order to keep the paper flat; the succeeding rows
do not need to be stapled down. - In the succeeding rows the paper should be placed under
the previous row of paper by 4″ and is not to be taped or
nailed down. This will provide a smooth surface which
will make the planks slide easily over the underlayment.

Please Note: If there are any conditions or instructions not mentioned here, please refer to either the Hardwood Manufacturers Instructions or the Instructions Manual for Installations written by the NWFA.
Frequently Asked Questions
For additional questions please contact us below. 
of the paper?


